Deployed Django App using Jenkins, GitHub, Docker-Compose, DockerHub, AWS-EC2.
Steps to complete this project:-
Create 2 Linux EC2 instances one for Master-Slave and another for Agent-slave.
Install Jenkins on Master and also install the same version of Java for both machines.
Create an SSH key on the master server and connect with the agent slave with the public key.
Set up Jenkins server.
configure declarative Pipeline on Jenkins.
create an agent-slave node on Jenkins.
Run the pipeline
Step 1:- Create 2 Linux EC2 instances one for Master-Slave and another for Agent-salve.

Step 2:- Install Jenkins on Master-slave and also install the same version of Java for both machines.
Java installation
$ sudo apt update
$ sudo apt install openjdk-11-jre
Jenkins Installation
curl -fsSL https://pkg.jenkins.io/debian-stable/jenkins.io-2023.key | sudo tee \
  /usr/share/keyrings/jenkins-keyring.asc > /dev/null
echo deb [signed-by=/usr/share/keyrings/jenkins-keyring.asc] \
  https://pkg.jenkins.io/debian-stable binary/ | sudo tee \
  /etc/apt/sources.list.d/jenkins.list > /dev/null
sudo apt-get update
sudo apt-get install jenkins
Check Jenkins status
systemctl status, Jenkins

Java Installation on Agent-slave
$ sudo apt update
$ sudo apt install openjdk-11-jre
Check Java version
java --version

Step 3:- Create an SSH key on the master server and connect with the agent slave with the public key.
How to generate SSH key:- https://chathura-siriwardhana.medium.com/step-by-step-guide-to-add-jenkins-slave-nodes-f2e756c8849e
Master-slave Private ssh key:-
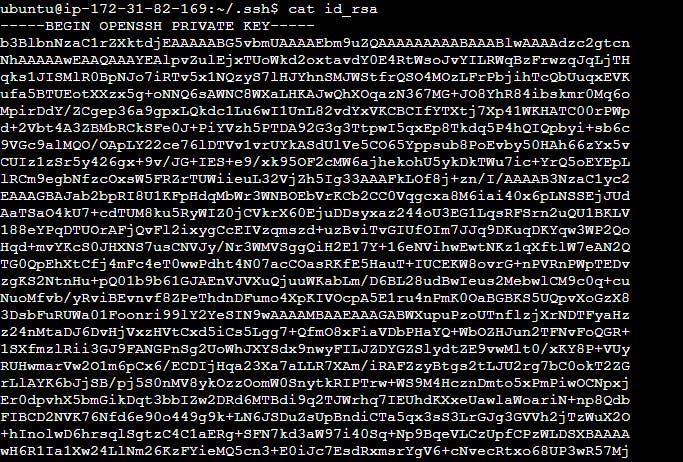
Master-slave Public ssh key:-

Now you can add the master-slave public key on agent-slave on the authorized_keys file.

Step 4:- Set up the Jenkins server.
To set up your installation, visit Jenkins on its default port, 8080, using your server domain name or IP address: http://your_server_ip_or_domain:8080
You should receive the Unlock Jenkins screen, which displays the location of the initial password:
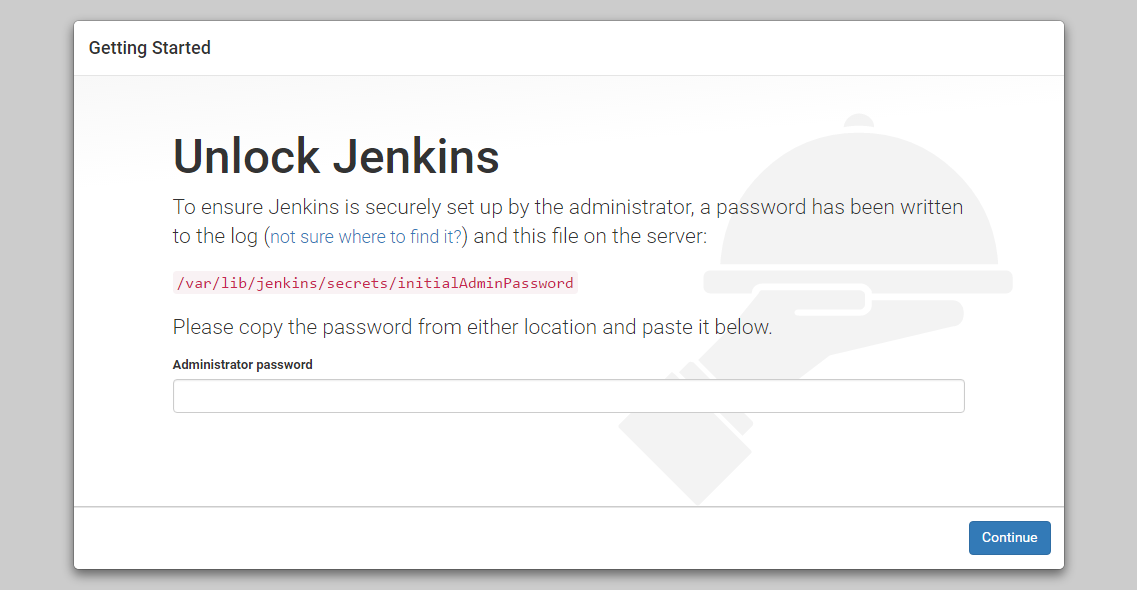
In the terminal window, use the cat command to display the password:
sudo cat /var/lib/jenkins/secrets/initialAdminPassword
Copy
Copy the 32-character alphanumeric password from the terminal and paste it into the Administrator password field, then click Continue.
The next screen presents the option of installing suggested plugins or selecting specific plugins:

We’ll click the Install Suggested Plugins option, which will immediately begin the installation process.

When the installation is complete, you’ll be prompted to set up the first administrative user. It’s possible to skip this step and continue as admin using the initial password from above, but we’ll take a moment to create the user.
Note: The default Jenkins server is NOT encrypted, so the data submitted with this form is not protected. Refer to How to Configure Jenkins with SSL Using an Nginx Reverse Proxy on Ubuntu 22.04 to protect user credentials and information about builds that are transmitted via the web interface.

Enter the name and password for your user:
You’ll receive an Instance Configuration page that will ask you to confirm the preferred URL for your Jenkins instance. Confirm either the domain name for your server or your server’s IP address:

After confirming the appropriate information, click Save and Finish. You’ll receive a confirmation page confirming that “Jenkins is Ready!”:
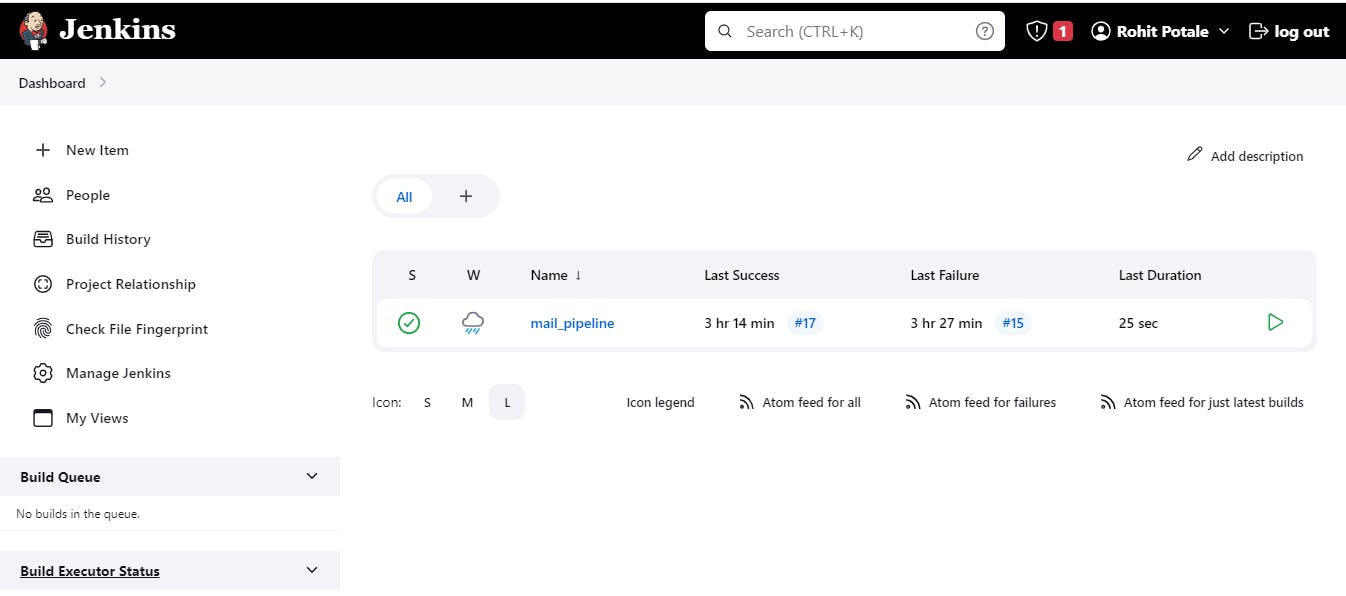
Step 5:- Configure the declarative Pipeline on Jenkins.
click on new and enter the project name then click on the pipeline

Enter description -> select GitHub project-> enter the git URL where you get the project code.

Select the GitHub hook trigger for GITScm pooling.

skip the advanced select option
Select Pipeline definition -> pipeline script ->
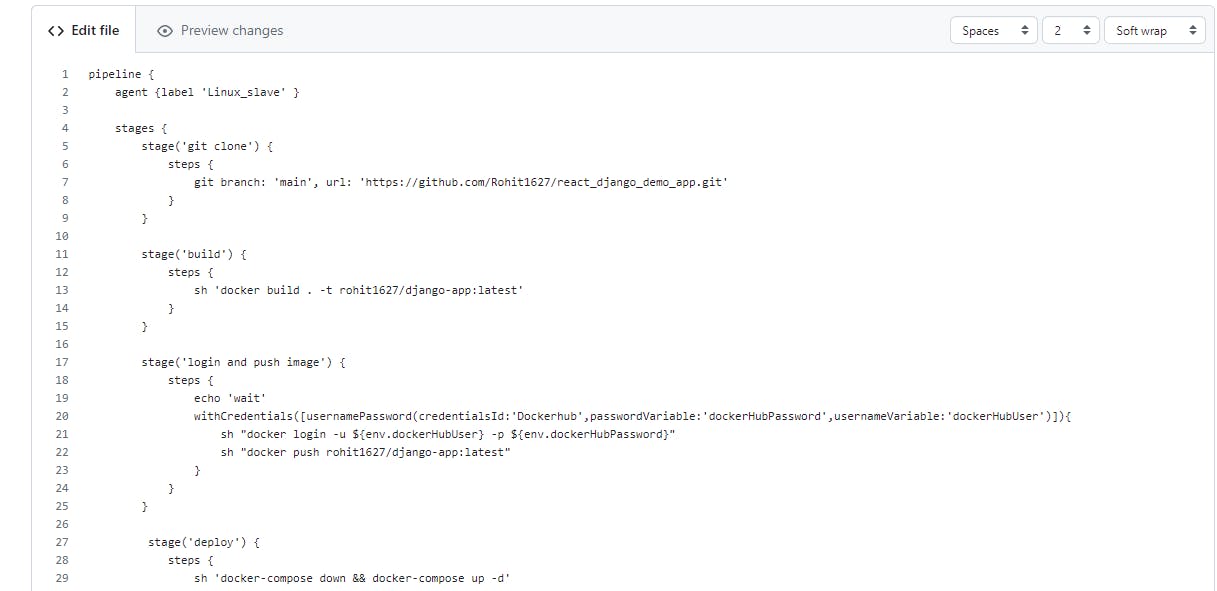

Click on save.
Setup webhook on git hub:-
go to the particular repo where you want to do the webhook.
Click on setting

click on webhook

click on add webhook -> enter master-slave public Ip on payload URL:-

click on add -> Once you will get a green tick it means it's configured successfully.

To push your image to the docker hub you need to configure environment

before running this script you should install the environment plugin

you can add docker hub credentials on global credentials

Step 6:- Create an agent-slave node on Jenkins.
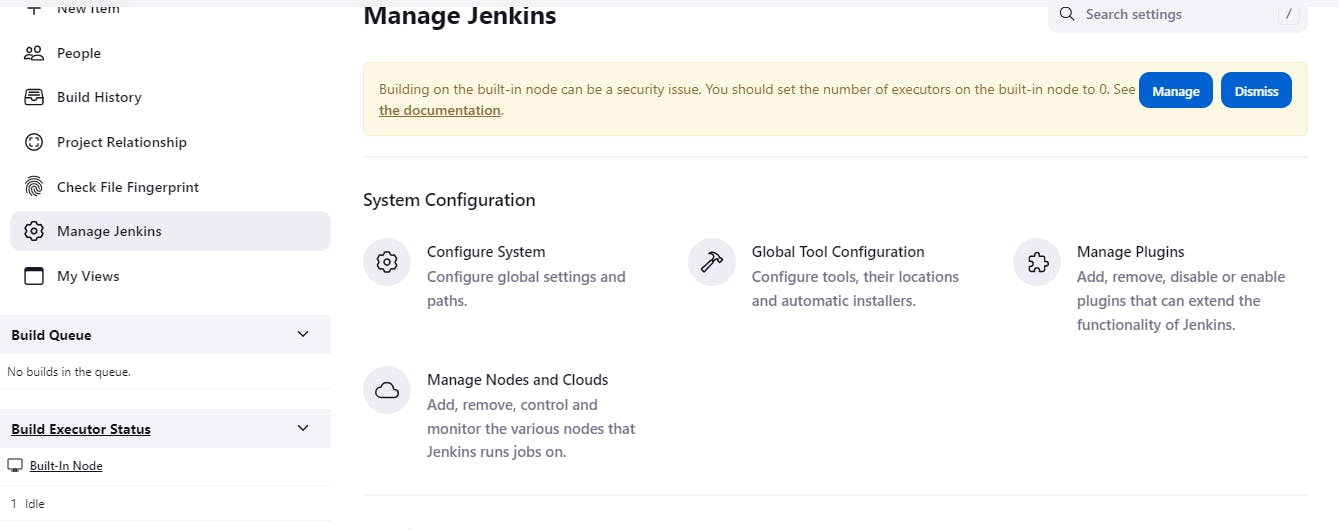
Now we’re ready to finish setting up the node via the Jenkins UI. In Jenkins, go to Manage Jenkins, then Manage Nodes, then click New Node. Here you can give your agent node a name, then select Permanent Agent and click OK. There are a variety of options you can use here to customize your node. All we care about right now is the Launch Method.
Select Launch Slave Agents via SSH for Launch Method.
Enter the hostname or IP address of your agent node in the Host field.
Click the Add button next to Credentials and select the Jenkins scope.
For the credential, set Kind to SSH username with the private key.
Enter Jenkins for the username.
For the private key, select Enter directly. Then, copy the contents of your private key file (~/.ssh/id_rsa by default) and paste it into the Key box.
If you used a passphrase when generating the key, enter that for Passphrase, otherwise, leave it blank.
Enter a descriptive id and description, then click Add.
Click Save to save the new node.
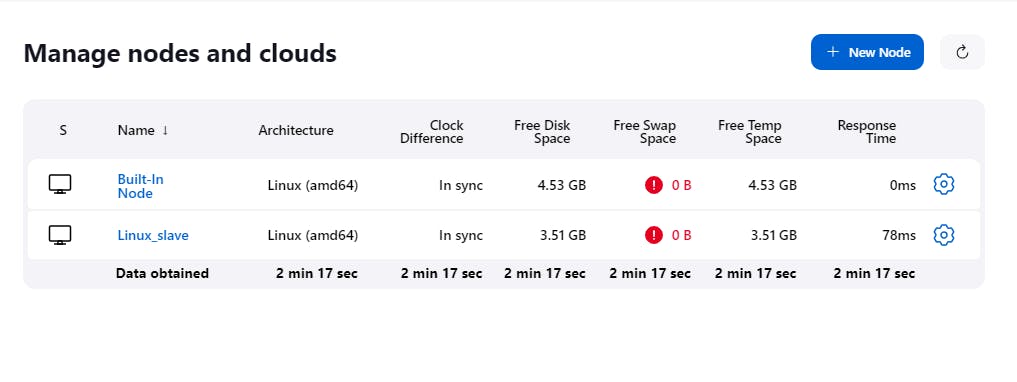
Agent-slave is successfully connected now.
Step 7:- Run the pipeline.
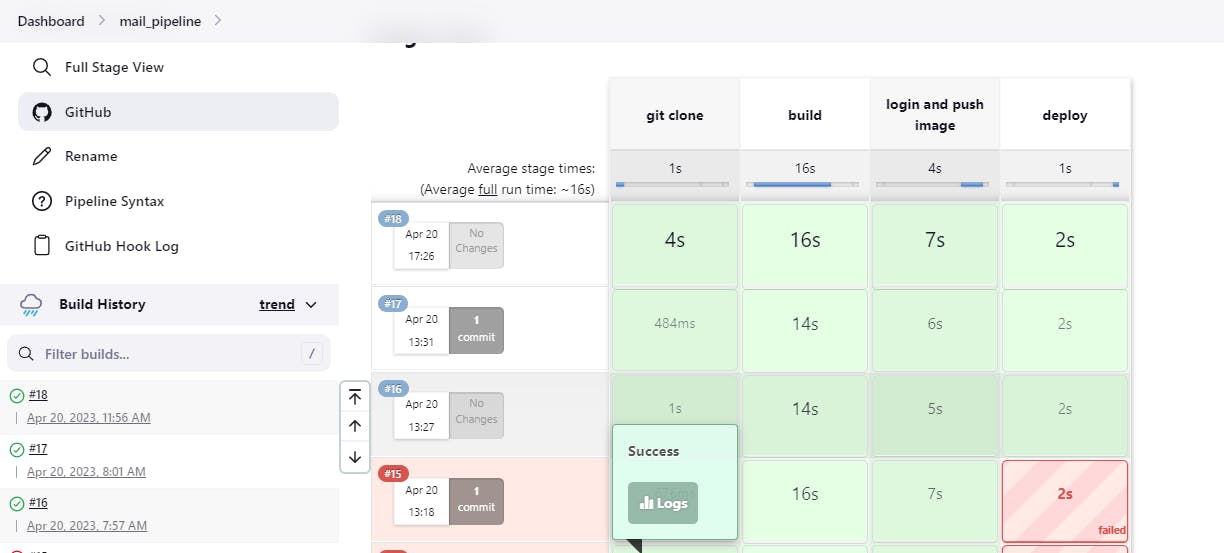
Once the pipeline is built successfully you will get an image on your DockerHub.

With that docker image, we will run our project on EC2.

Hope you like this Project. If you have any queries related to this project feel free to contact me on www.linkedin.com/in/
Thank you.