Day24:Complete Jenkins CI/CD Project
Task-01
1)Fork this repository:

2)Create a connection to your Jenkins job and your GitHub Repository via GitHub Integration.
Generate the SSH keys for integrating your Jenkins project with your git repository. Use the ssh-keygen command to create a public and private keys.

Configuring GitHub:
1)Go to your GitHub account settings.

2)Go to SSH and GPG keys, Add the public key that we created using ssh-keygen and select key-type Authentication key.
cat id_rsa.pub
Thus with the above command you will get the Public key and add this public key in the “Key” Section of “SSH & GPG Keys”

For GitHub-Webhook:
Webhooks provide a way for notifications to be delivered to an external web server whenever certain actions occur on a repository or organization.
1)Go to your GitHub repository and click on Settings.
2)Click on Webhooks and then click on Add Webhook.
3)In the ‘Payload URL’ field, paste your Jenkins environment URL. At the end of this URL add /GitHub-webhook/. In the ‘Content type’ select: ‘application/json’ and leave the ‘Secret’ field empty.

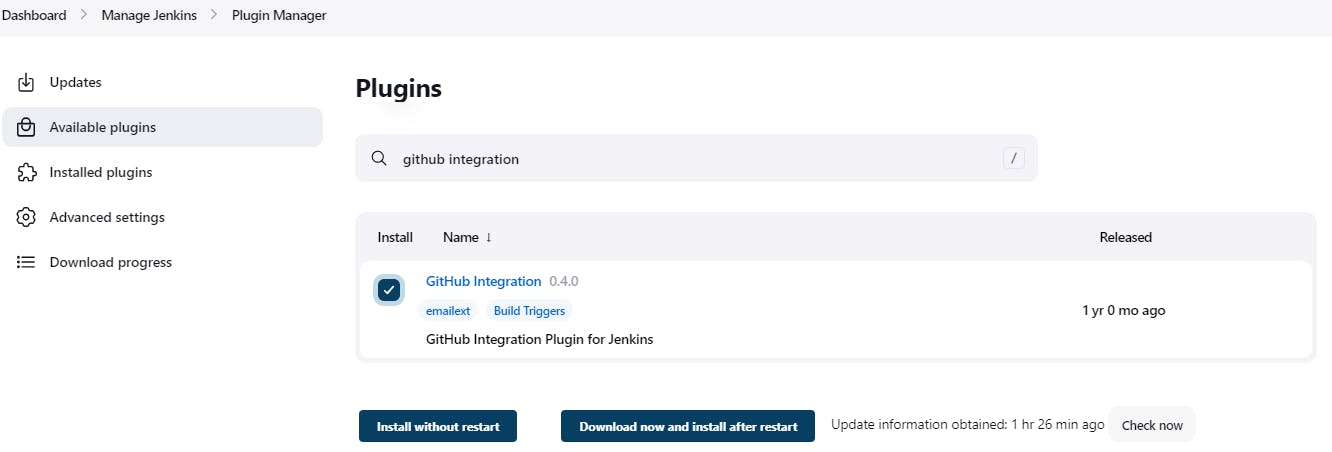
For Installing GitHub Integration plugin in Jenkins
1)Open your Jenkins dashboard.
2)Click on the Manage Jenkins button on your Jenkins dashboard
3)Click on Manage Plugins
4)Install the GitHub Integration plugin

Configuring Jenkins:
1)Create a Jenkins job

2)Creating a new Freestyle Project for the node.js application

3)Select the GitHub project URL and write your project GitHub URL

4)Select “Git” and provide the below credentials
Click on ADD and for the “kind” label select from the drop-down list for

5)Add private key which we created using ssh-keygen command.
Provide Unique ID, Description and then paste the “Private key “ at last as “Paraphrase” and click on ADD

6)Click on the ‘Build Triggers’ tab and then on the ‘GitHub hook trigger for GITScm polling’.

Once the connection between the Jenkins server and Github is successful a green tick as highlighted below will be shown.

Task-02
1)In the Execute shell run the application using Docker compose

2)You will have to make a Docker Compose file for this Project.

3)After the build you can check the console output.

Set the inbound rule on AWS and access the app at “public-ip:8000” and check the output on the browser.
Hope you like this blog. Please follow for more blogs like this.....
Thank you.